A sand-cement screed is a popular option for both new builds and renovations due to its sturdy and durable nature. It provides the perfect, flat base for all types of floor finishes, such as tiles, parquet, and laminate. But what exactly is involved in laying such a floor? In this guide, we’ll take you step by step through the process and provide insight into the costs, so you can start your project well-prepared. With the right plan, you'll avoid surprises and ensure a flawless base for your new floor.
A screed is the finishing layer applied on top of the subfloor to create a flat and solid surface for the final floor covering, such as tiles, laminate, or parquet. Screeds are commonly used in both new construction and renovation projects and play an essential role in leveling the substrate. Depending on the type of screed, it can also help with insulation and the distribution of underfloor heating.
What is a sand-cement screed?

A screed is the finishing layer applied on top of the structural subfloor to create a flat and solid surface for the final flooring, such as tiles, laminate, or parquet. Screeds are commonly used in both new builds and renovation projects and play a key role in leveling the underlying surface. Depending on the type of screed, it can also assist with insulation and the distribution of underfloor heating.
A sand-cement screed, also known as a cement screed, is one of the most common types of screeds. It consists of a mixture of sand, cement, and water, creating a strong and durable foundation. The thickness of a sand-cement screed typically ranges from 5 to 8 centimeters, providing a stable surface for various types of floor finishes such as tiles, laminate, parquet, or carpet.
Benefits of a Sand-Cement Screed
- Strength: A sand-cement screed is highly suitable for heavy loads, making it ideal for both residential and commercial spaces.
- Versatility: It can be applied over various subfloors and is compatible with underfloor heating.
- Affordable: The sand-cement screed is often a cost-effective option compared to alternatives, without compromising on durability.
A sand-cement screed is not only essential for creating a flat surface but also promotes efficient heat distribution when used with underfloor heating. Additionally, there are various finishing options, such as painting or coating, that not only enhance the aesthetic appeal but also provide extra protection against wear.
Why Choose a Sand-Cement Screed?
A well-laid sand-cement screed provides a solid and stable base for your home or commercial space. It levels the floor, which is crucial for further finishing and the overall comfort of your interior. Whether you opt for tiles, laminate, or another finish, a sand-cement screed is a durable and cost-efficient choice that will serve you well for years to come.
Preparation for a Perfect Sand-Cement Screed

For a successful sand-cement screed, a well-prepared subfloor, proper insulation, and underfloor heating are essential. These elements contribute to the floor's strength, thermal efficiency, and overall comfort.
Leveling the Subfloor: The Foundation of a Strong Floor
A level subfloor is crucial for a durable screed. Before you start, carefully inspect the subfloor for any irregularities. In some cases, old adhesive residues or other materials need to be removed. Leveling ensures the floor is even and stable.
Use a high-quality leveling compound to create a smooth base. This improves the adhesion of the sand-cement layer and prevents future cracking. Make sure the subfloor is completely dry before proceeding with the next steps, as a damp base can weaken the bond of the screed.
Floor Insulation: Retaining Heat and Saving Energy
Floor insulation plays a major role in retaining heat and can significantly contribute to energy savings. By placing insulation under the sand-cement layer, you keep the warmth indoors, especially during colder months.
Materials like EPS, PIR, or other insulation boards are effective at minimizing heat loss. Make sure the insulation layer is applied evenly to maintain the floor’s efficiency. This step is particularly important if underfloor heating is being installed, as it ensures that heat is directed upwards rather than being lost to the subfloor.
Integrating Underfloor Heating: Comfort and Efficiency Combined
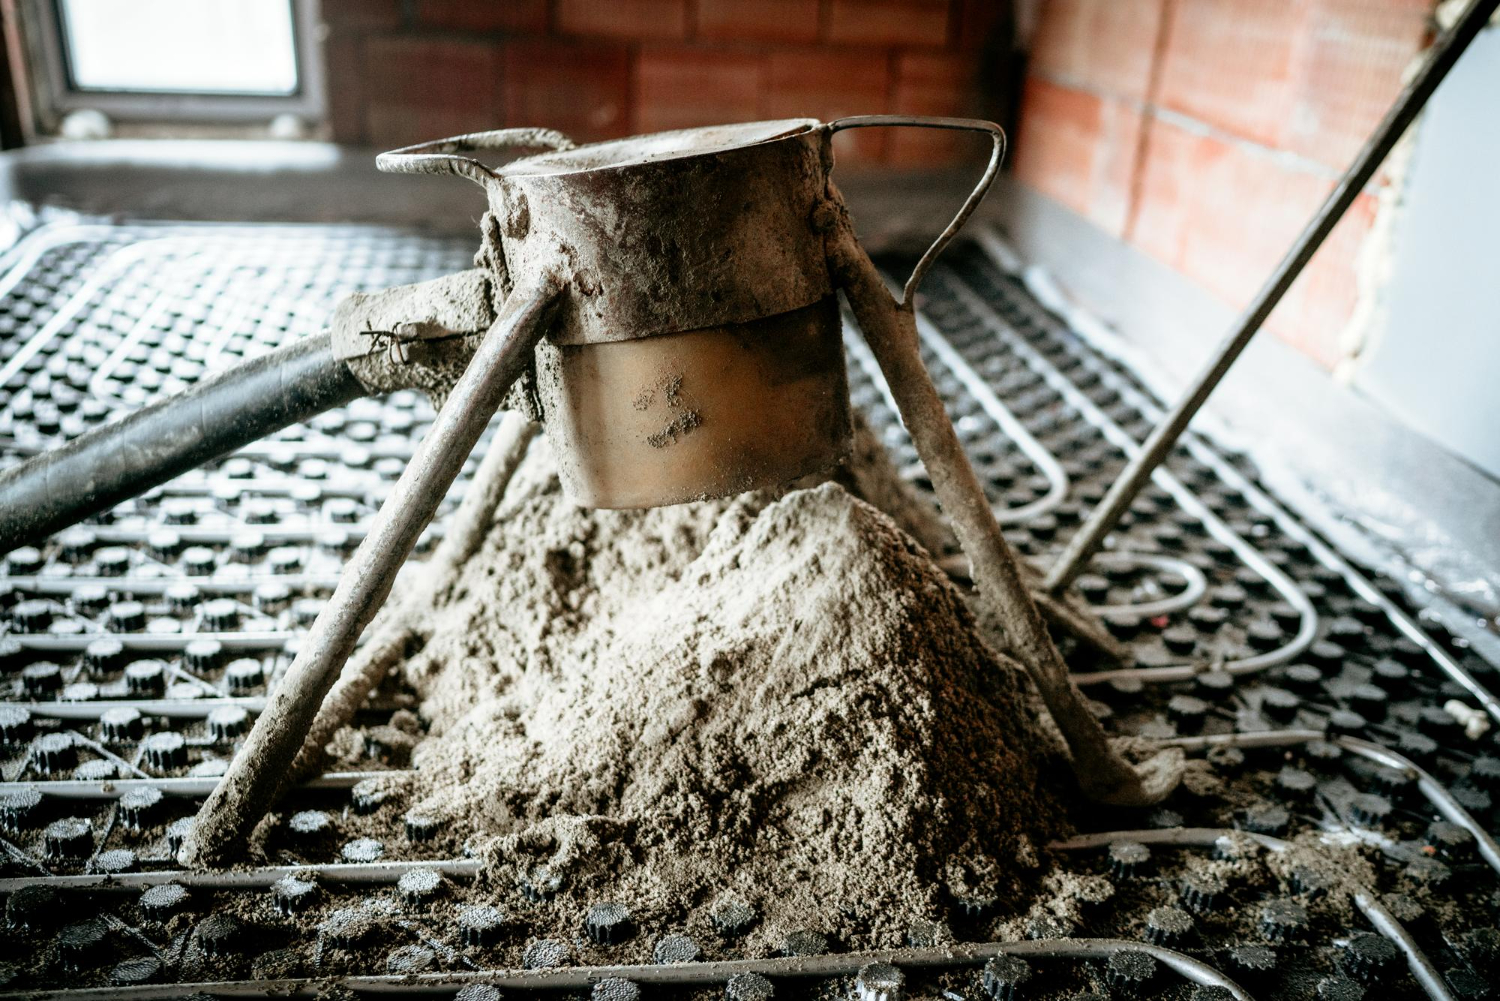
Integrating underfloor heating greatly enhances comfort. When properly installed within the sand-cement screed, it ensures even heat distribution throughout the room.
Place the heating pipes or electric mats according to the specified pattern and ensure they are securely fastened. Be sure the screed is applied evenly over the pipes to avoid air pockets, which can cause uneven heating and reduce system efficiency. Combining underfloor heating with insulation further enhances performance by maximizing heat retention and minimizing energy waste.
Materials and tools

When applying a cement screed, the right materials and tools are essential. The sand-cement mortar and water play a crucial role. Using the right tools also makes the difference between a flat screed and an uneven finish.
Selecting Materials
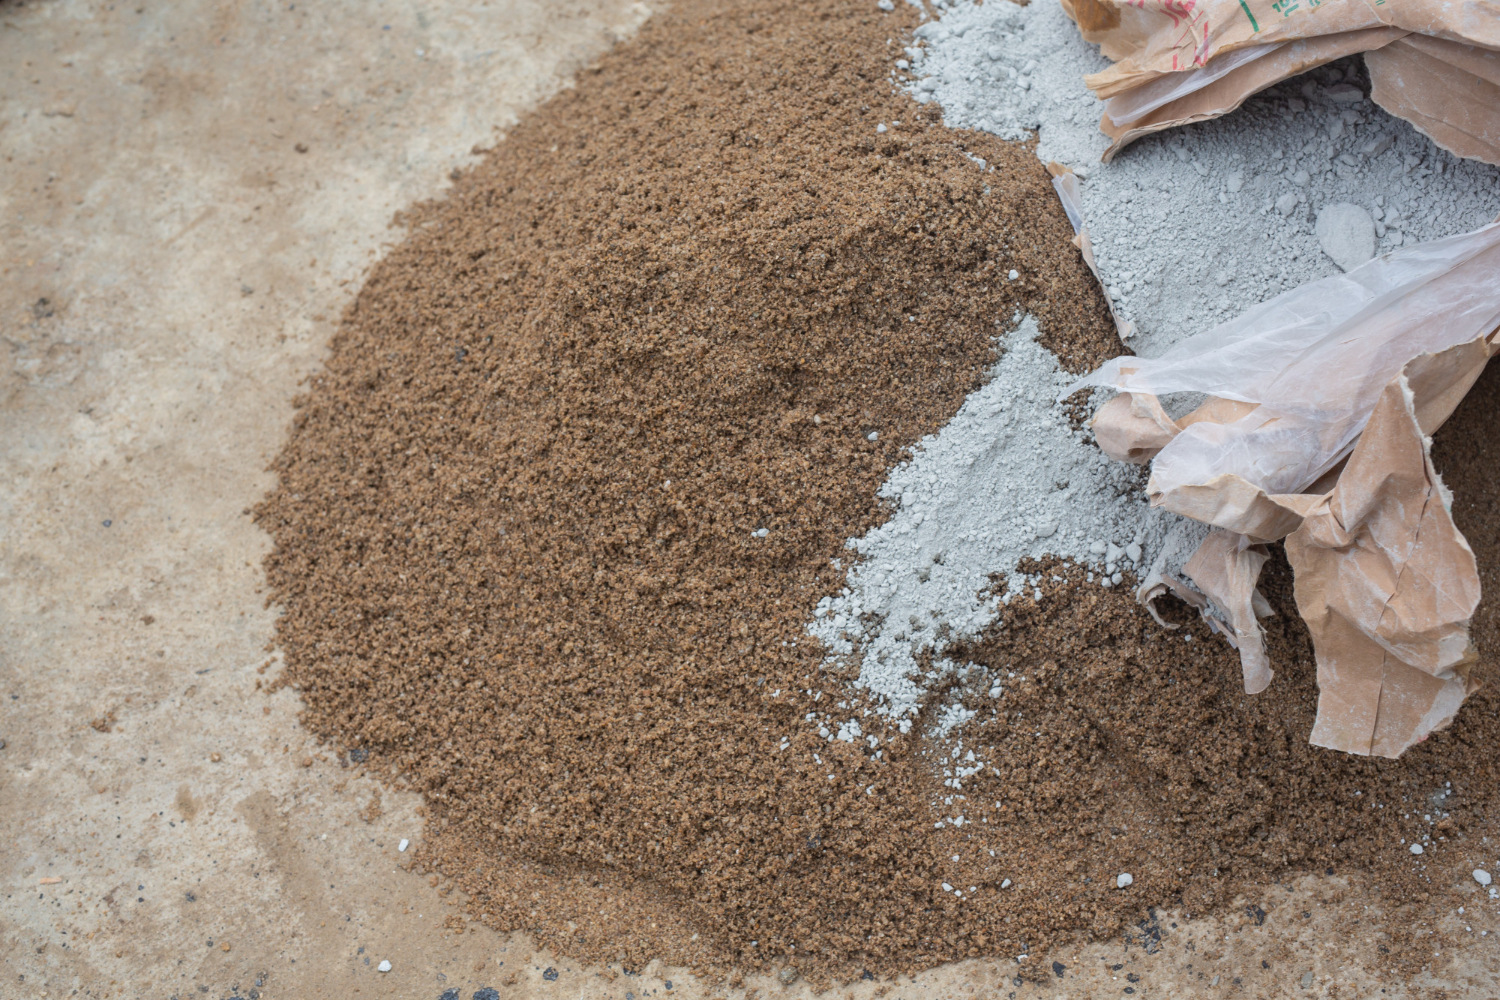
For a sand-cement screed, you mainly need sand, cement, and water. Make sure to choose good quality sand, typically sharp sand with a grain size of 0-4 mm. This ensures a strong bond with the cement.
The cement should be suitable for floors, such as Portland cement. The ratio of sand to cement is often 3:1 or 4:1, depending on the desired strength. Mix the cement and sand thoroughly in a concrete mixer, adding water until the mixture reaches a firm but workable consistency.
Optionally, you can also add a plasticizer or screed improver to improve the flow of the mortar, depending on your project specifications.
Necessary Tools
Make sure you have the essential tools. A concrete mixer is needed for a uniform mix of sand-cement mortar. For precise water measurements, you need a measuring cup or bucket with markings.
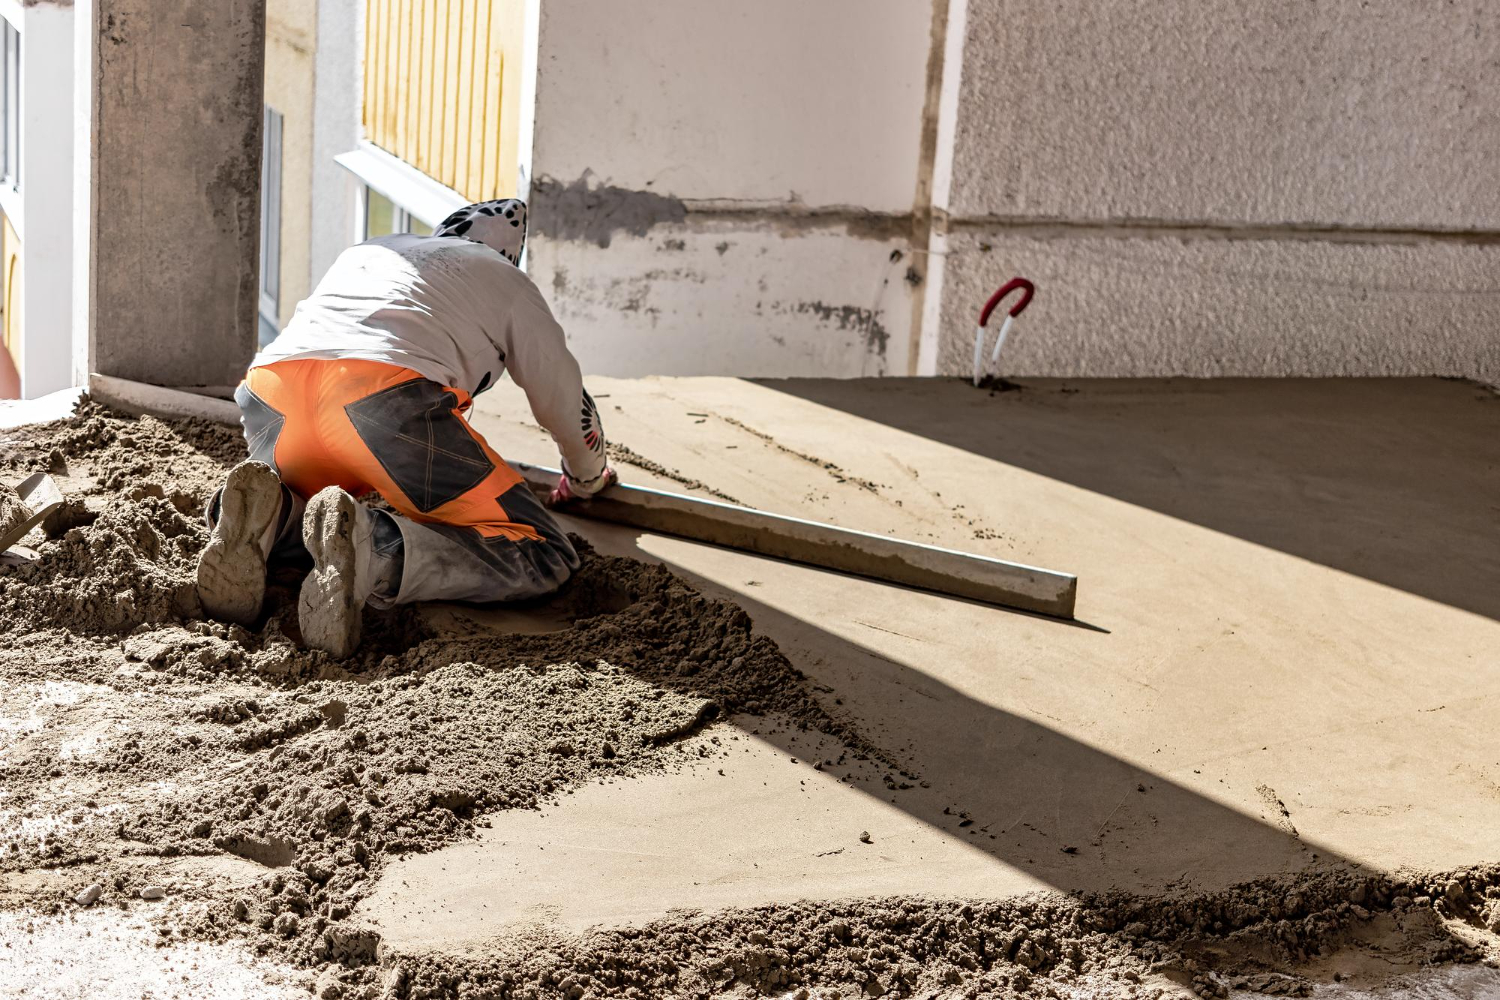
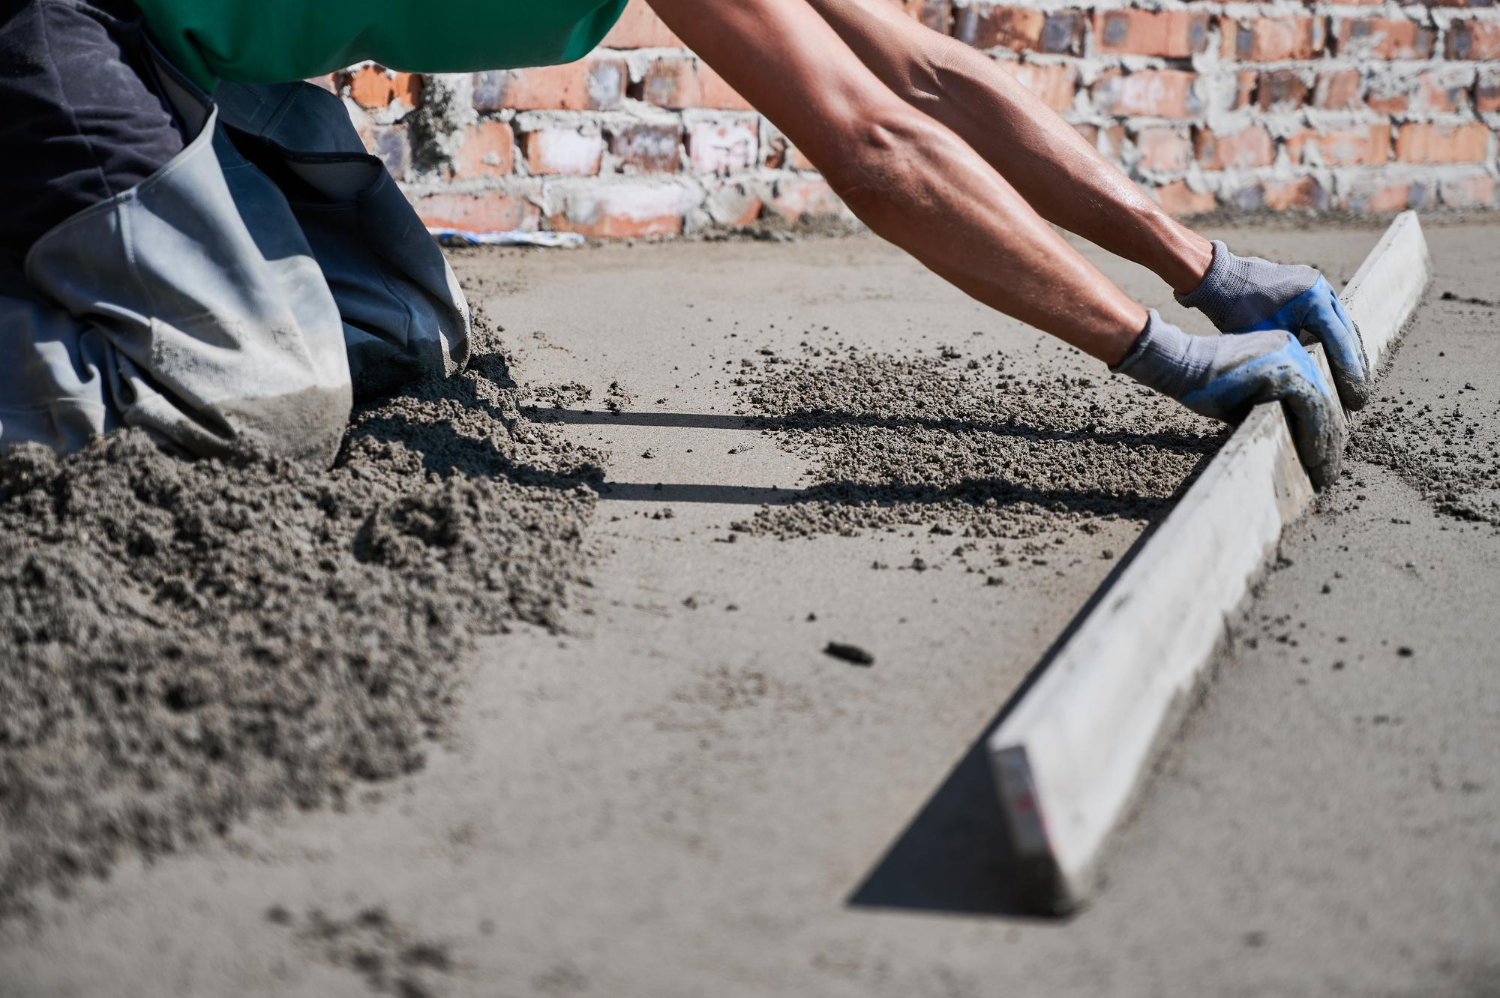
Use a spirit level and a long straight edge to finish the surface evenly. Wooden or aluminum finishing trowels help smooth and compact the floor. Knee pads can also be helpful, as the work often requires prolonged kneeling.
A float can be used for the final finishing, to make the floor completely smooth. Also, ensure good lighting at the worksite so you can clearly see any differences.
Execution: Pouring the Screed

When pouring a sand-cement screed, precision and the right technique are essential. The process involves several steps, such as preparation and the use of specific methods.
Steps in the Pouring Process
A successful screed begins with thorough preparation. First, the substrate must be clean and dry to avoid bonding issues. A primer is then applied to improve adhesion between the substrate and the sand-cement screed.
The next step is to mark out the space, placing guidelines that help with correct and even pouring. Mixing the sand-cement is crucial, and it must be done in the correct ratio to achieve a strong and durable floor.
Finally, the sand-cement is spread over the area and leveled. It’s essential to do this evenly to prevent issues with the flooring later on. The drying process, which takes about a day, is the last step in the pouring process.
Methods and Techniques
There are several techniques available for pouring a sand-cement screed. Hand mixing and pouring is common for smaller projects, while machine pouring is more efficient for larger areas, using pumps to distribute the sand-cement evenly.
A widely-used technique is laser leveling, ensuring an extremely accurate floor finish that results in a perfectly smooth surface, making it easier to apply flooring later.
It's essential to consider weather conditions during execution. High humidity can disrupt the drying process, so ensure adequate ventilation but avoid drafts that could cause cracks in the floor.
Optimal Drying Time
The drying time for a sand-cement screed depends on factors such as floor thickness and environmental conditions. A cement screed generally takes at least 28 days to fully cure. A useful rule of thumb is to allow one week of drying per centimeter of screed thickness.
During this time, it’s important to ventilate the room well, but avoid excessive drafts, which can cause cracks. Also, monitor humidity and temperature as these can significantly impact drying time. If necessary, use a dehumidifier to create the ideal conditions.
Costs and Quotes
When pouring a sand-cement screed, costs and obtaining quotes are key aspects to consider. Several factors can affect the final price. Below is detailed information on price-determining factors and average costs per square meter.
Price-determining Factors
Several elements can influence the price of a sand-cement screed. The thickness of the screed is an important factor; thicker layers require more material and labor, increasing costs.
The total floor area also plays a role: larger areas can sometimes be more cost-effective per square meter due to economies of scale. Additionally, extra features such as underfloor heating or special insulation materials can significantly impact the costs.
The location of your property can also affect the price, due to possible travel costs for the contractor. It’s important to compare quotes from multiple companies. Quotes from certified professionals ensure you receive high-quality work, often with a guarantee.
Average Costs per Square Meter
The cost of pouring a sand-cement screed can vary. On average, costs range between €35 and €65 per square meter. This variation depends on the factors mentioned earlier.
When requesting a quote, it's useful to specify both material and labor costs, as well as any additional costs. Make sure the quote is clear and detailed so that you avoid surprises during or after the job.
Frequently Asked Questions
Can I pour a sand-cement screed myself, and what should I consider?
Pouring a sand-cement screed yourself is possible, but it requires experience and thorough preparation. Start by cleaning and leveling the substrate. Ensure the correct mixing ratio of 1 part cement to 3 or 4 parts sand, and mix this in a concrete mixer for a uniform result. Ensure the floor is evenly distributed and finished with a straight edge or trowel to create a flat surface. The drying time is also important; protect the floor during drying from drafts and direct sunlight. For larger areas or underfloor heating, it's wise to hire a professional.
How do I calculate the amount of material needed for a sand-cement screed?
To calculate the amount of material, first determine the area of the space (length x width) and multiply this by the desired screed thickness in meters. For a floor of 50 m² with a thickness of 0.06 m (6 cm), you will need 3 m³ of sand-cement. Allow a small margin (5-10%) for unforeseen circumstances. Use a ratio of 1 part cement to 3 or 4 parts sand, depending on the strength you want to achieve.
What is the drying time for a cement screed?
The drying time for a cement screed is approximately one week per centimeter of thickness. For a floor 6 cm thick, you should expect a drying time of 6 weeks. During this time, it’s important to ventilate the space well but avoid drafts to prevent cracking. Avoid heavy loads on the floor until it is completely dry, and monitor humidity and temperature to ensure an even drying process.


